
Making Your First Image
FUZE4 Nintendo Switch gives you access to a vast library of assets to use in your projects, but you can also create your own sprites and levels using the Image and Map editors! This guide will cover how to use the Image Editor.
From the Main Menu, select the 'Tools' icon followed by the 'Image Editor' icon. If it's your first time using FUZE, you'll see the following screen:
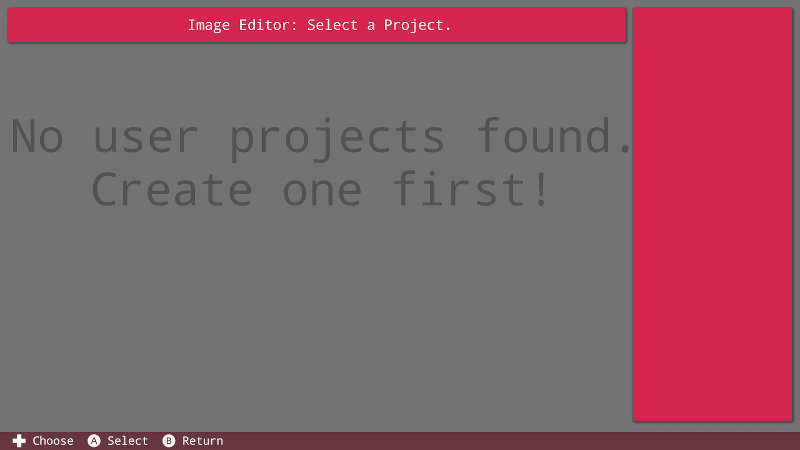
As you can see, we have nothing to do! User created images are stored in individual project files. Let's create a project which can store our images in. Return to the Main Menu and select the 'Programs' icon:
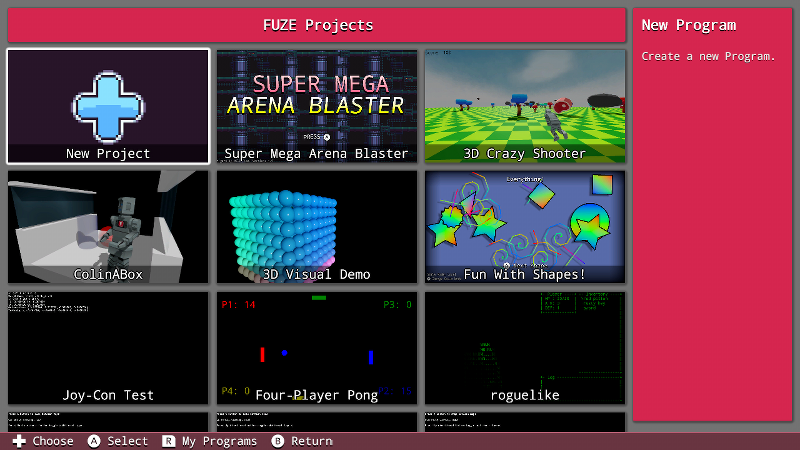
You will also see this screen if you click the 'Project' icon while you have no programs in your save data.
Select the 'New Project' button on the left to create a new project file in our user save data. This will allow us to start creating images for that project. Enter a name for the new project. We'll go with "Image Storage" for this example.
Once you've created the project you'll be taken to Code Editor. Return to the Main Menu using the minus button on the Joy-Con controller. From here, click the 'Tools' icon followed by 'Image Editor':
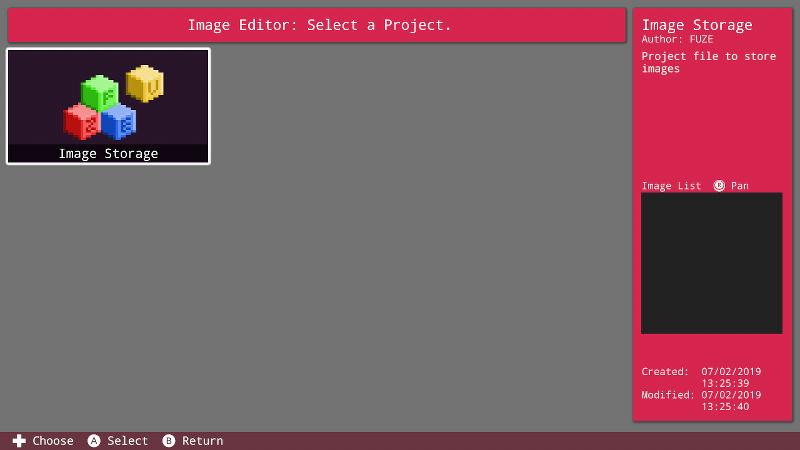
We can now see our newly created project. Click the project icon and you'll be taken to the next window:
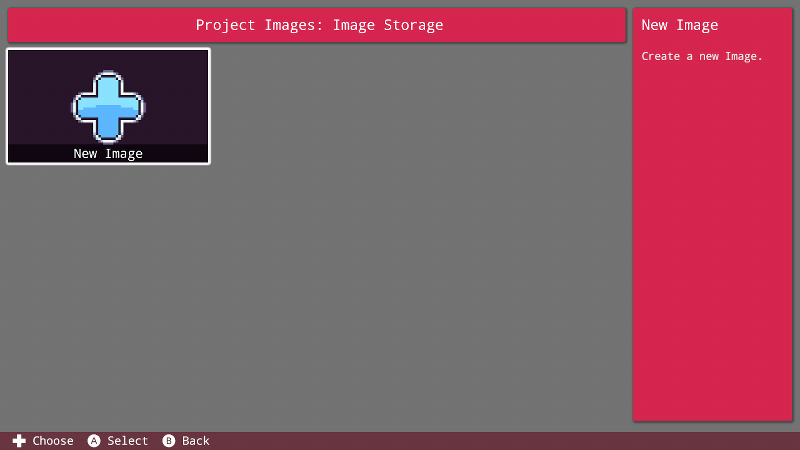
This window is where we can see all the images stored within this project. Since we don't have any, let's click the 'New Image' button to get started!
Single and Tiled Images
When you've selected the option to create a new image, you can choose between two options. FUZE allows you to create single or tiled images. Both are very useful for different tasks. Single images are very useful for something like background layers, whereas tiled images are perfect for making your own sprites, or using them to construct your very own levels in the Map Editor!
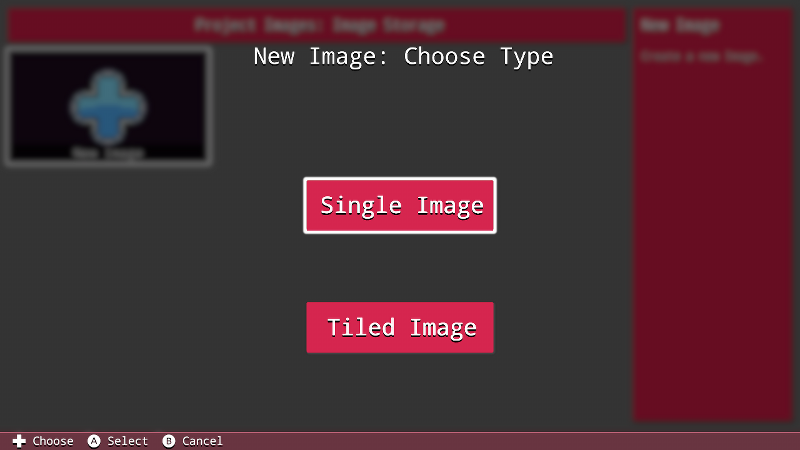
We'll begin with a single image and look at tiled images later.
Select "Single Image". You will be prompted to enter a name for your image, then press the plus button to confirm. Once complete, you'll be taken into the Image Editor.
In the Image Editor Screen
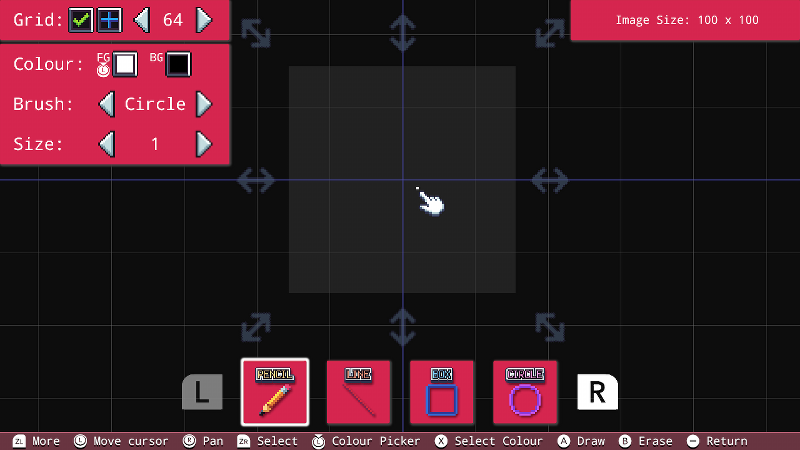
Right away there are a few things to take note of. Take a look at the box in the top right of the screen. This is the size of your image in pixels. By default this will be 100 by 100 pixels.
To adjust your image size, move the cursor over one of the grey arrows at the edges of the image. Select it with the A button, then move the control stick around to adjust the size.
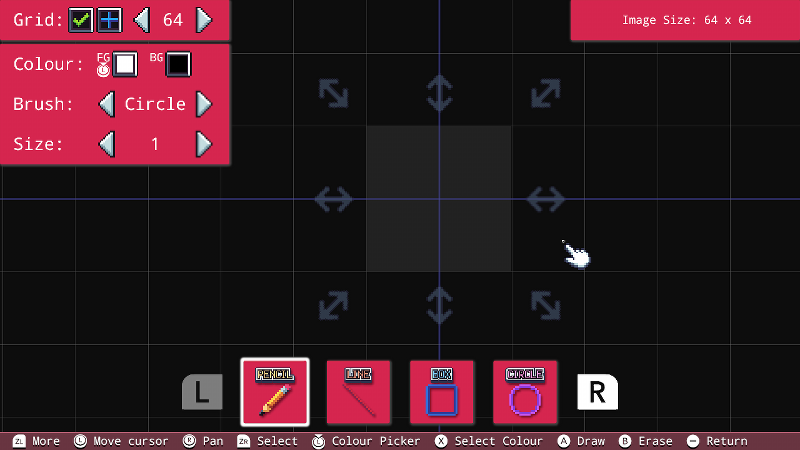
Once you've got the size you want, press the A button again to confirm. This will also centre the image. As you can see, we've gone for an image size of 64 by 64 pixels and the image area is centred on screen.
Grid Options
Next up, take a look at the box at the top left of the screen. Here we'll find our grid options. Move your cursor over the small box with a green tick and press the A button to toggle the grid on and off:
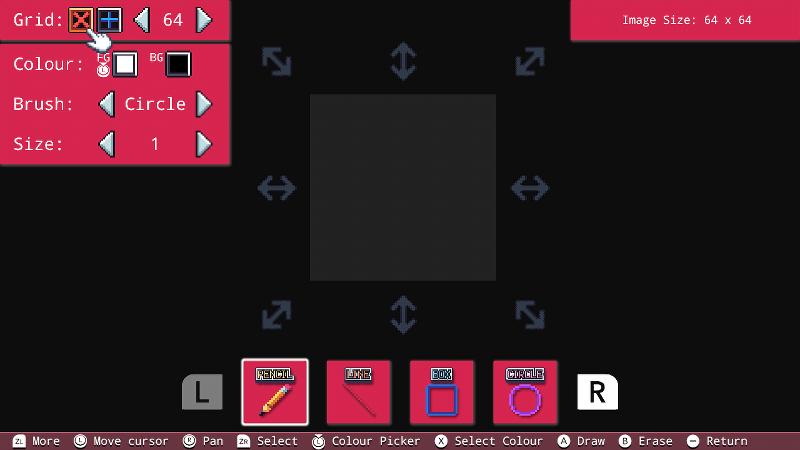
Our grid has vanished and the small box now displays a red cross rather than a green tick. Press the box again to bring the grid back.
The next box along can be pressed to change the origin point of the image.
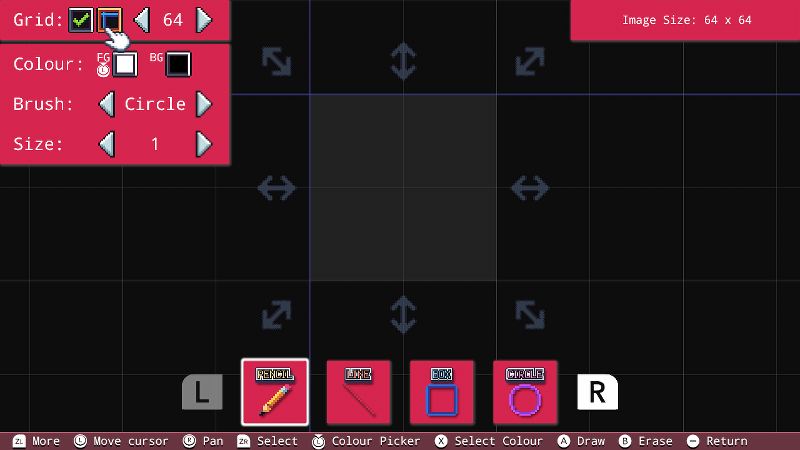
Finally, the arrow buttons either side of the number '64' on the Grid Options panel will change the density of the grid. Selecting a lower number will increase the amount of visible squares and help for finer detailing. You can also press the A button on the number itself to enter a custom grid size.
Each grid tile is subdivided into 4 parts, for ease of use. This allows you to always know where the middle of a grid tile is.
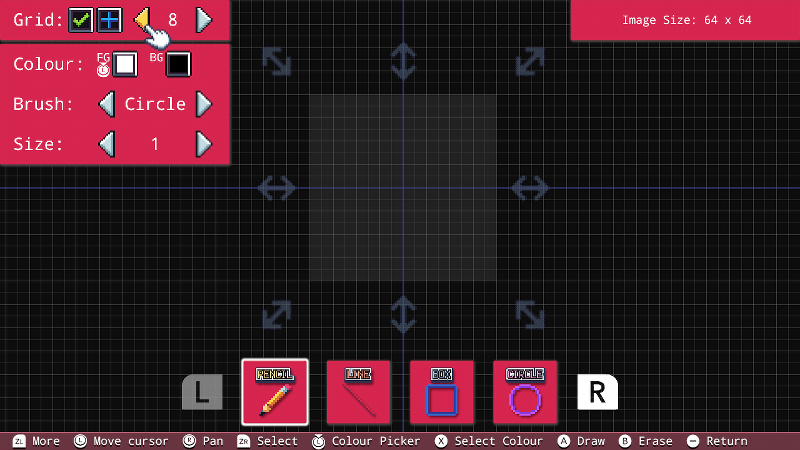
Take a look at the command bar at the bottom of the screen and in the left corner you'll notice a prompt for more controls. Hold down the ZL button to access these.
To zoom in or out of your image, hold down the ZL button and move the right control stick up or down. You can also click the right stick to select a zoom setting.
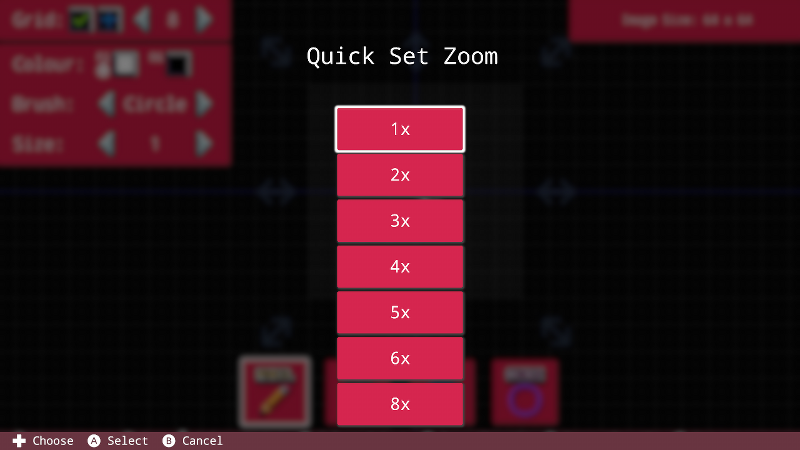
That about covers it for setting up our image! Let's see what we can do with the brush.
Brush Options
The box just beneath the Grid Options are our Brush Options. We can change the colour, the shape and the size. We'll get to colour shortly, for now let's focus on the options beneath.
The 'Brush' setting just below will change the brush shape between a square or a circle. When drawing small images pixel by pixel the 'Square' brush option is ideal, but to colour a large region you might find the 'Circle' brush more suitable.
Lastly, the 'Size' setting just beneath will change the size of your brush. Who'd have thought?!
It is worth noting that at brush sizes less than 3, there is no difference between the square and circle brush option.
Pressing the L and R buttons will change the selection at the bottom of the screen between 'Pencil', 'Line', 'Box' and 'Circle' modes. This changes the way we draw. Selecting one of these tools will allow you to draw simple shapes easily. When drawing either a box or a circle, you will see a couple of new options displayed:
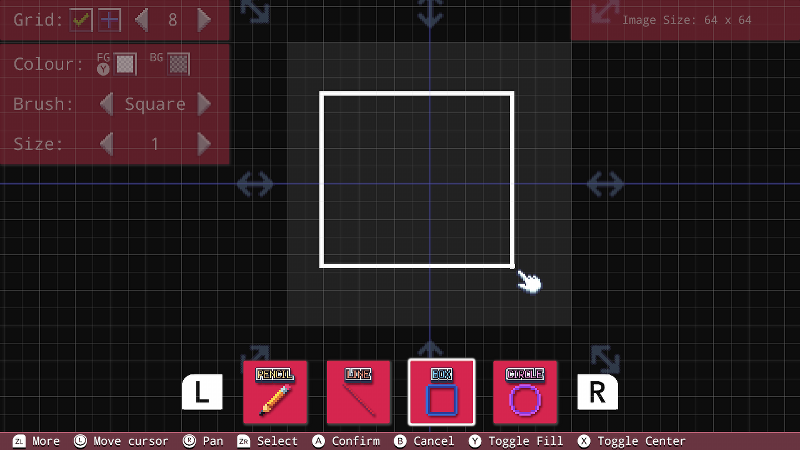
While drawing either a box or a circle, notice the command bar prompts at the bottom of the screen. Pressing the Y button will fill the object in with the selected background colour. Pressing the X button toggles the centre of the object.
Colours
Let's take our eyes back up to the 'Colour' option at the top left. We have two boxes here, one for 'foreground' (FG) and one for 'background' (BG). Select the foreground box and select a colour. You should see the colour picker on screen:
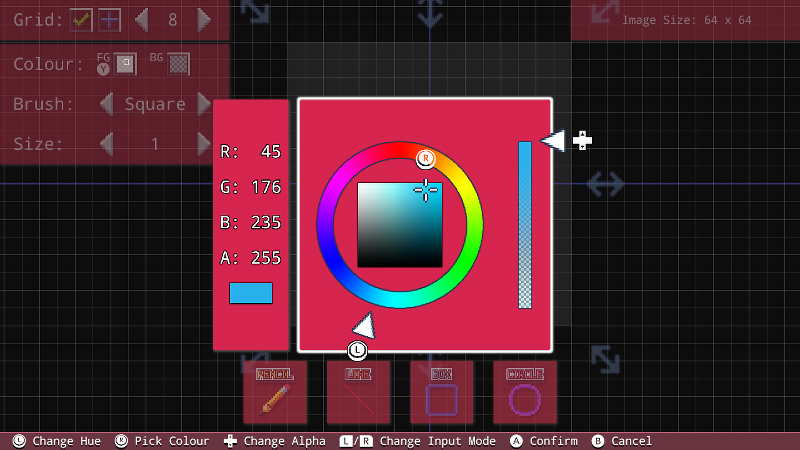
Here, you can move the left and right control sticks to select a colour and hue. You can also use the up and down directional buttons to adjust the alpha (transparency).
You can also press the L and R buttons to swap between visual colour selection and manually inputting the RGBA (red, green, blue, alpha) values.
Once you've found a colour you want to use, press the A button to confirm. This will change the colour of the foreground colour box. Notice the selected blue colour now appears in the image below.
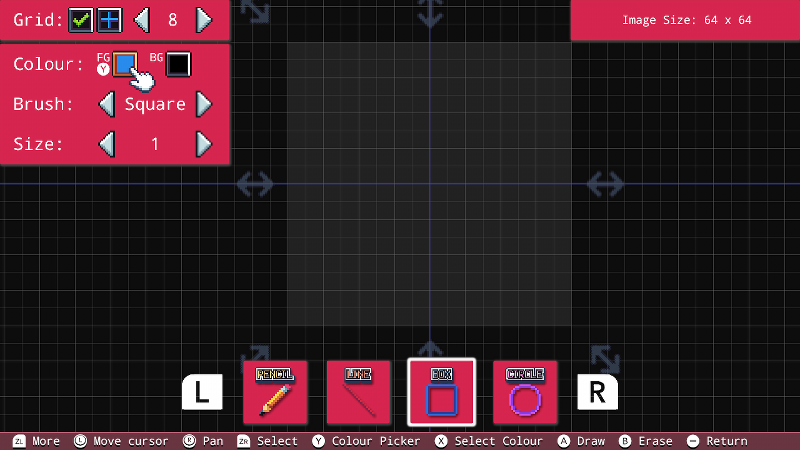
When we draw using the A button we are using the foreground colour.
Let's draw a simple image using a couple of colours:
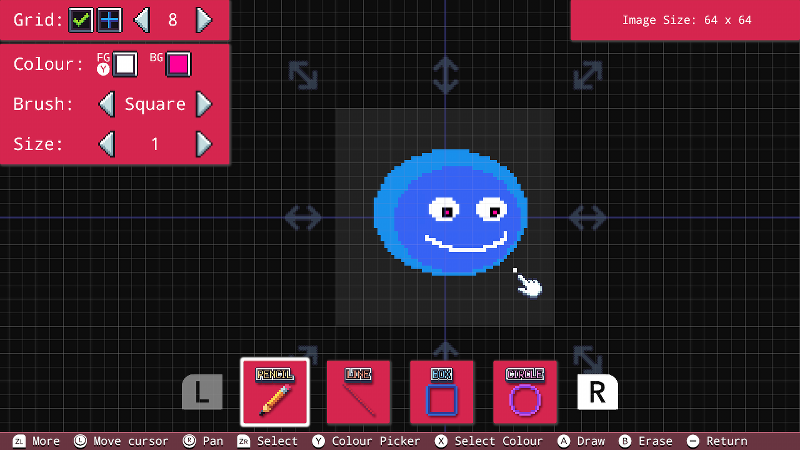
There we go! Here is my brilliant (if I do say so myself) character.
There is a very useful tool in the image editor to select a colour we have already used. Currently the paint is set to a white colour. If we want to select the same blue we've used in the image, simply place the cursor over the desired colour and press the X button. This will grab the colour under the cursor.
Copy and Paste
Before we look at how to create tiles images, let's quickly cover how to use the copy and paste feature. It will be incredibly useful going forward!
To select a region to copy, hold down the ZR button and move the cursor. You will see a yellow box drawn as you move.
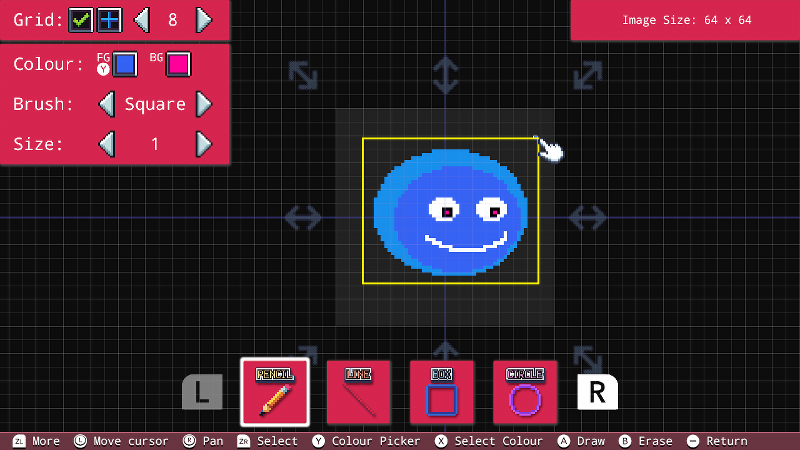
Let go of ZR when you're happy with your selection. Next, hold down the ZL button this time to open the additional controls on the command bar.
Notice that when ZL is held, you have an option labelled "ZR Add to Selection". Holding down ZR at this point and drawing an additional box will add that new box to your selected region.
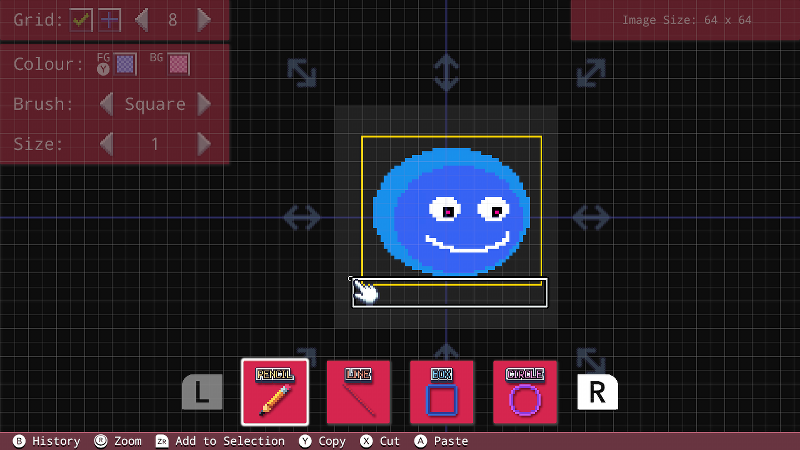
Using this technique, you can select any size and shape region.
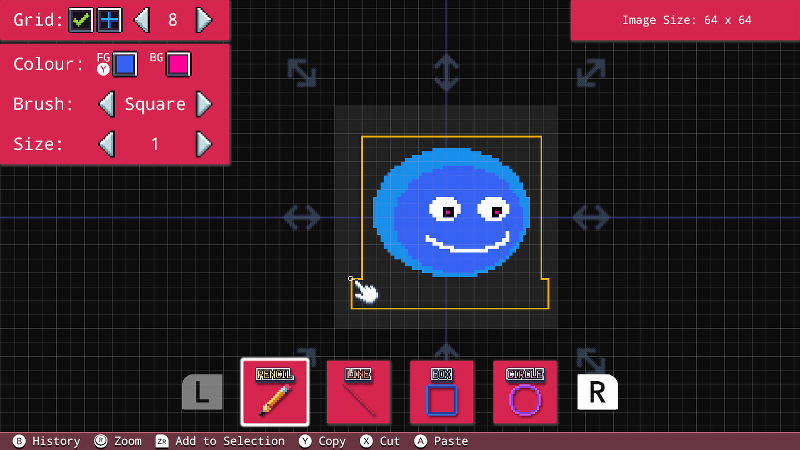
Alright, now we have our region selected. With ZL held, notice that you also have the options to "Y Copy", "X Cut" or "A Paste" your region. Let's say we want to move our selected region down a little. Cut the selection with the X button.
Everything drawn inside the selection will vanish. With ZL held, press the A button to now enter paste mode.
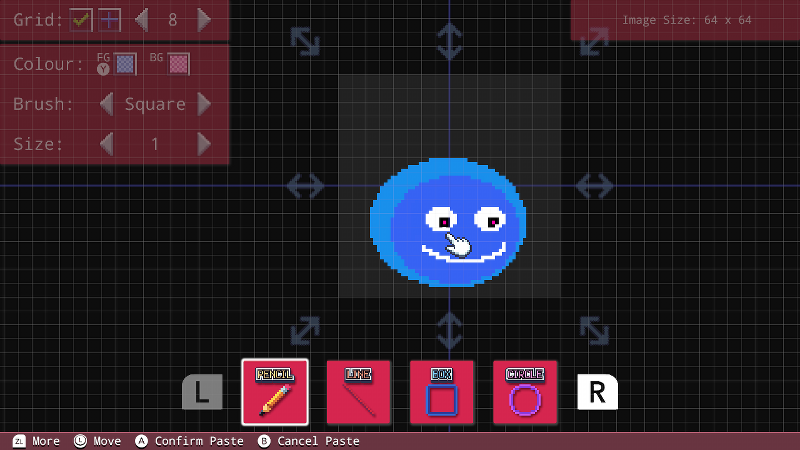
Notice that while moving your cursor, you are moving your pasted selection. Press the A button to confirm and paste, or press the B button to cancel the paste. If choosing to cancel, the selection still remains in the clipboard.
Undo & Redo
If you make a mistake while drawing, or perhaps accidentally cut and paste your image where you didn't want to - fear not! The Image Editor features a brilliant Undo & Redo feature.
To access this, simply hold the ZL button to see the extra command bar controls.
Notice the prompt for "B History" when ZL is held. Pressing the B button here bring up the history.
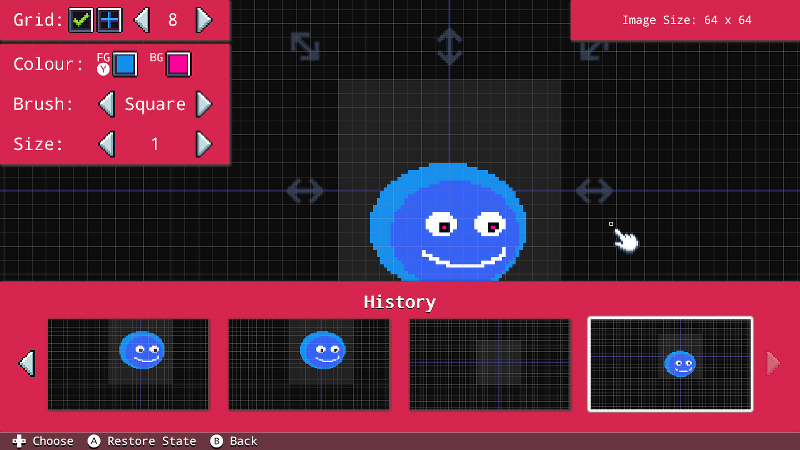
Select a previous state to choose from, then press the A button to restore that state. This works in both directions! If you choose a previous state accidentally, you can return to the more recent state too.
Pressing the B button will cancel and return to the Image Editor.
Tiled Images
Our little sprite looks quite good! Perhaps we might want to use this in our own spritesheet.
A very useful feature of the Image Editor is that the contents of the clipboard is retained between different image files. This means you can copy an image from one file into another very easily!
We cannot change a single image into a tiled image. Instead, we must create a new image from scratch. Before we leave our current project, we will copy our slime sprite into the clipboard.
Return to the Main Menu with the minus button. This also saves your image.
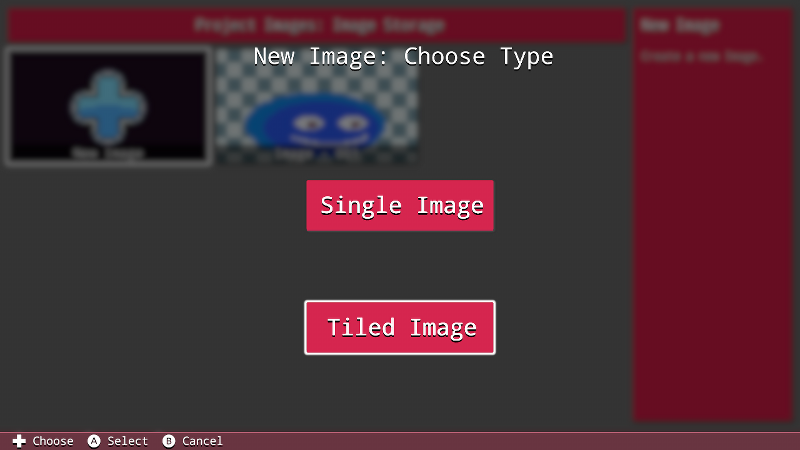
Select 'Tools', then 'Image Editor' just as before. Go into the Image Storage project, then select 'New Image'. This time, select the 'Tiled Image' option.
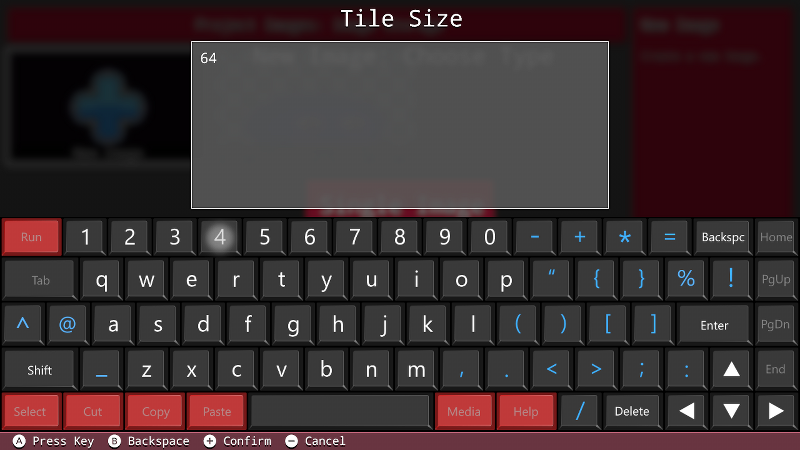
You will be prompted to enter a tile size for the image. We are going with 64 in this example. The image created is a single tile of 64 by 64 pixels. You can enter any number here of course depending on what you require.
Name your image, then you'll be taken into the Image Editor. However, this time things are slightly different!
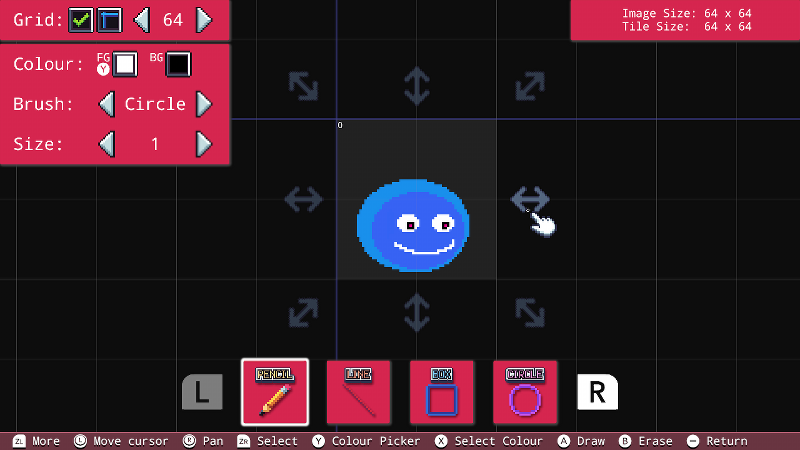
We have begun by pasting our image into the tile. It is important to note, this is not mandatory. For the purposes of demonstrating the persistent clipboard, this document uses the example of drawing a single image and transferring it to a tiled image.
You should try to begin with a tiled image if your intention is to create a spritesheet or tilesheet.
Numbered Tiles
Take a look at the number in the top left corner of our tile.
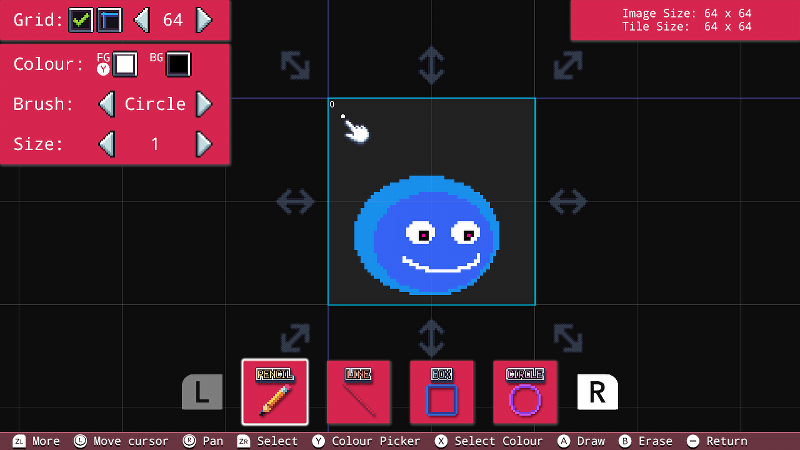
This number is the tile number. This always begins at 0, and increases as we add tiles.
To add more tiles, press the A button while your cursor is over the arrow to the right of our image, and drag the cursor to the right. This will add tiles of the same size. Press the A button again to confirm.
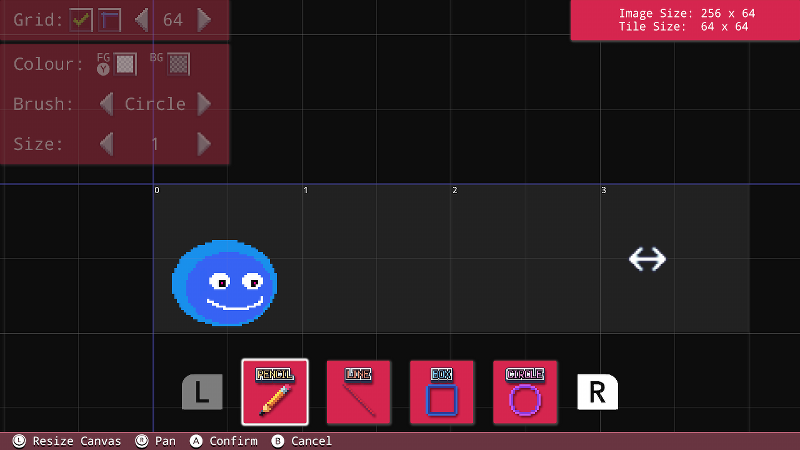
Using the copy and paste feature detailed previously, we can quickly create duplicates of our image. Adjust each one slightly to create an animation sequence.
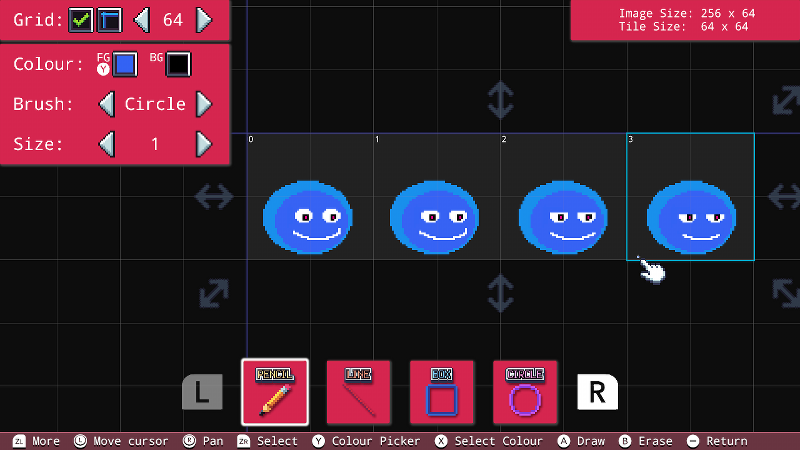
You can also add tiles below using the vertical arrows. This allows you to create a long animation sequence without needing a very long and unwieldy spritesheet.
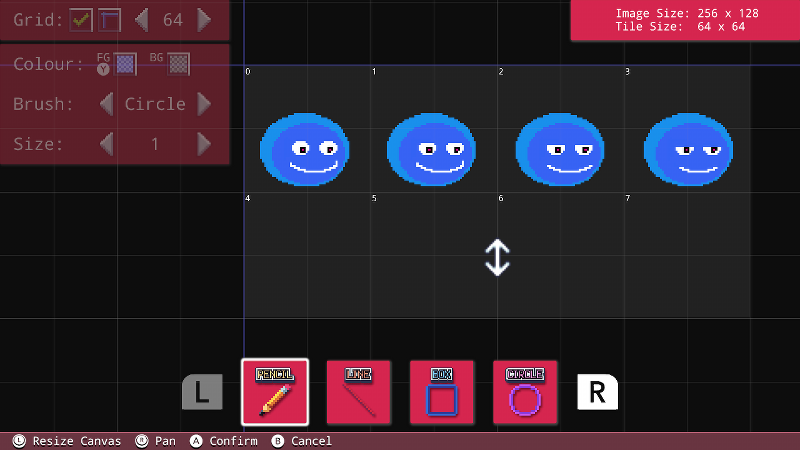
As you can see, the tiles increase in columns and then rows. Check the tile numbers in the top left.
Let's add a few more frames to this animation and then see what it looks like!
Once you're happy with your tiles, hold down the ZL button and take a look at the command bar. The option "+ Spritesheet/Animation View" will be available.
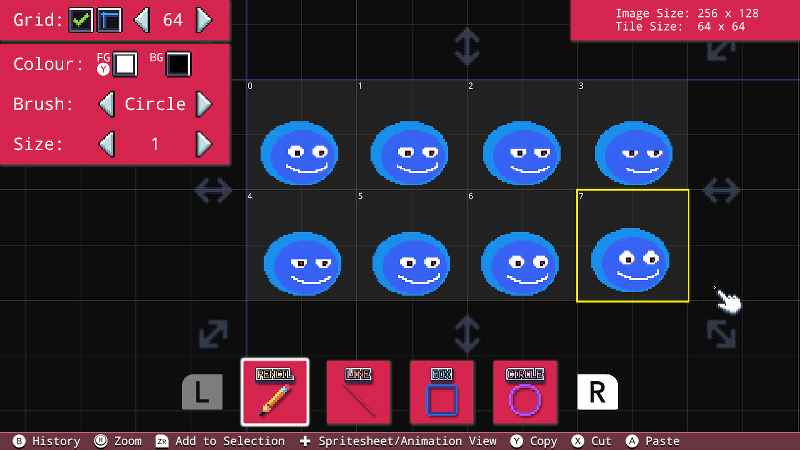
Press the plus button to enter the spritesheet and animation viewer.
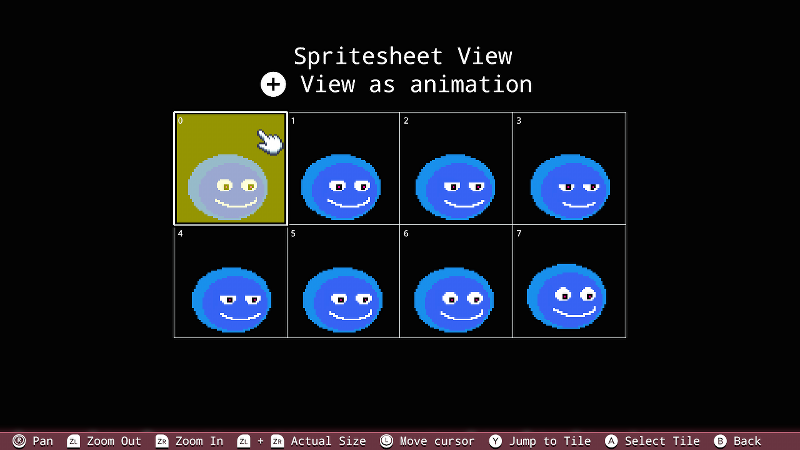
From here, you can preview your animation by pressing the plus button again, or you can manually select a tile range by selecting a start and end tile with the A button.
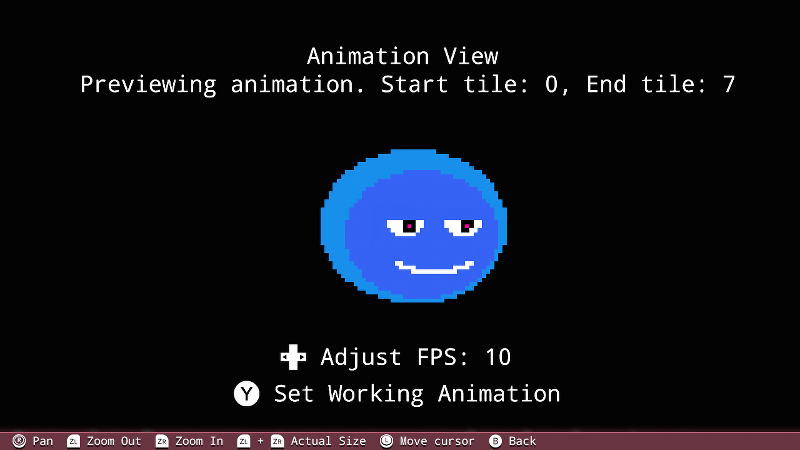
While viewing your animation, you can adjust the FPS (frames per second) using the left and right directional buttons. You can also adjust the position and zoom of your preview using the right control stick, ZL and ZR buttons respectively.
Pressing the Y button selects your current settings as a working animation. Doing this will take you back into the image, but with your animation range highlighted.
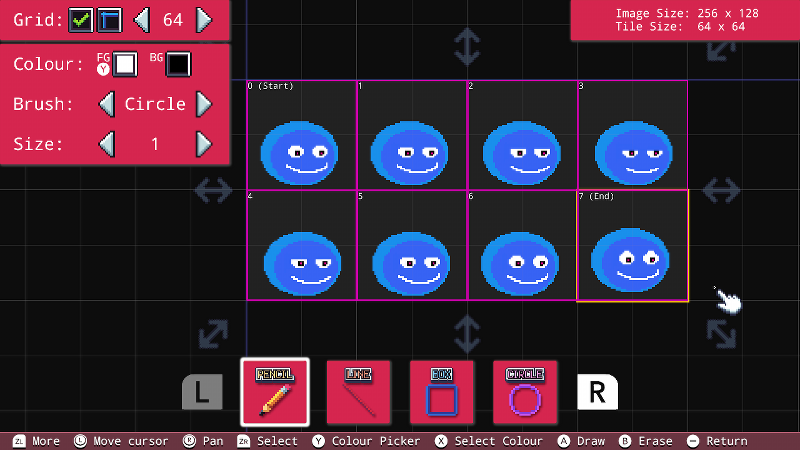
Here we can clearly see which tiles are selected with the pink outline. There is also a reminder of the start and end tile of the animation.
You could use your spritesheets alongside the setSpriteImage() and setSpriteAnimation() functions in FUZE to create your own animated sprites easily!
You can also use these spritesheets to draw tiles for your own level. Using the FUZE Map Editor, you can load your custom sheets and construct with them. You can even add your own animated tiles this way! Check out the Map Editor document for more information.
Copying Your Image to Another Project File
Since we're using this project as just image storage, we'll want to copy this image to a new project.
Begin a new project by returning to the Main Menu and selecting the 'Project' icon. Enter the title, author and description if desired. Once finished, you'll be in the Code Editor. Return to the Main Menu using the minus button.
Go to 'Tools', then 'Image Editor' like before. You should see something like this:
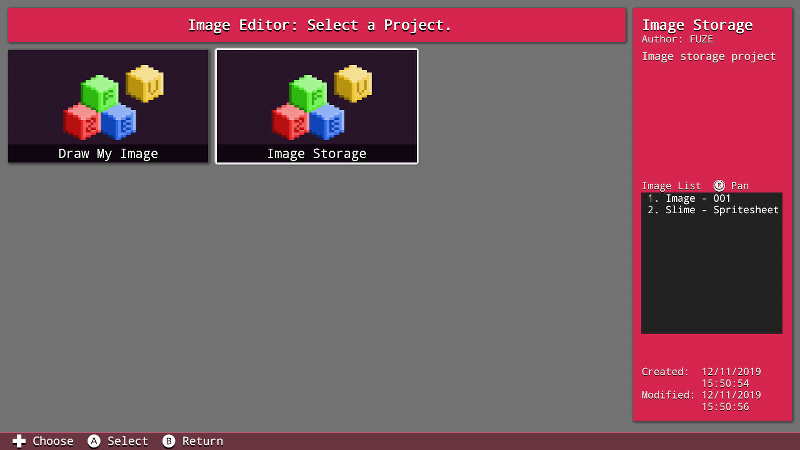
On the left we have the icon for the newly created project which we want to use the image in. On the right, the cursor is over our image storage project where the image is currently saved. You can see a list of the stored images in the project on the right of the screen in the project information panel.
Selecting the 'Image Storage' project icon will take us to the images stored in that project.
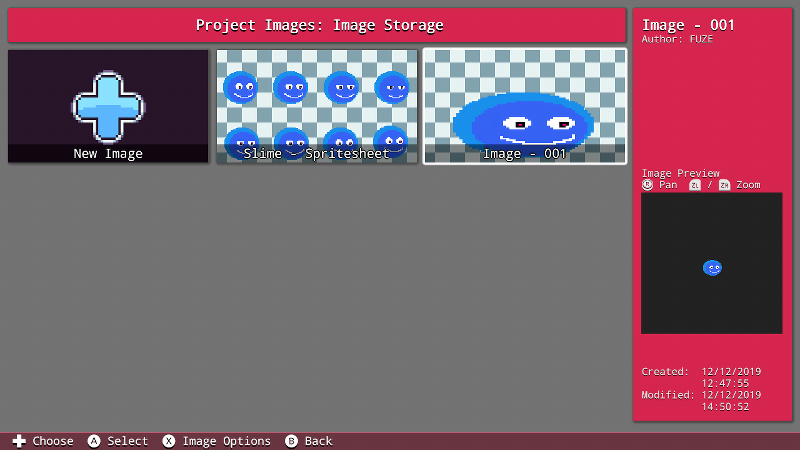
As you can see our images are now displayed here. Move the cursor on to the image to copy and press the X button to view the image options:
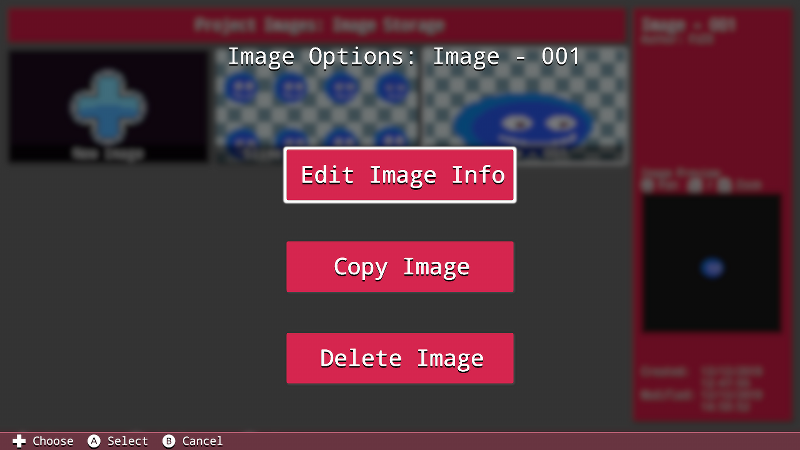
Select the 'Copy Image' option and you'll see two further choices. You may either copy the image to the same project (duplicating it) or you can copy the image to another project for use.
Select 'Copy To Another Project' then select the newly created project which we want to copy the image to.
Once you've selected the project, you'll be prompted to input a new name for the image if desired.
Once your project file contains the image you want to use, it's time to load and draw the image using code. If you don't know how, take a look through the FUZE tutorial projects for some inspiration!
Image Commands
drawImage(), drawImageEx(), freeImage(), imageSize(), loadImage()