
Making Your First Map
The FUZE4 Nintendo Switch map editor is designed to make it easy to create your own maps and use them in your projects. Access the Map Editor by going to the Tools icon from the Main Menu, then select 'Map Editor' and if it's your first time using FUZE you'll see the screen shown below:

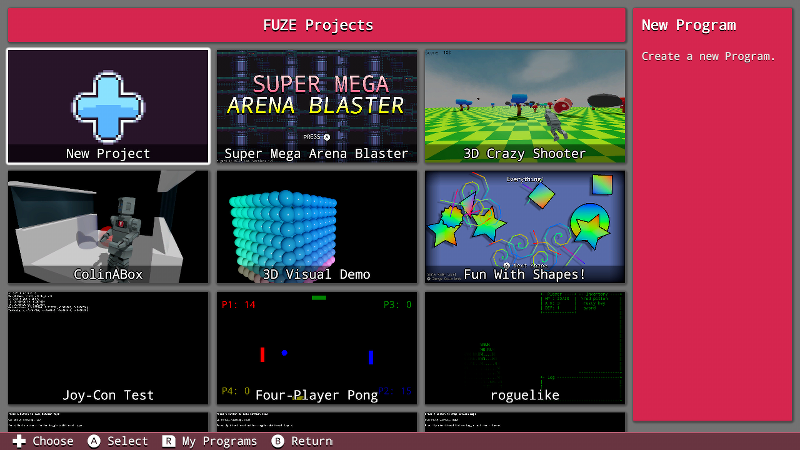
As we have no projects in our user save data, there is nothing for us to do. Let's create a project so we can store a map. Return to the Main Menu and click the 'Programs' button. You'll be taken to this screen shown below:
You can also find this screen while pressing the 'Project' button while you have no programs in your save data.
Select the 'New Project' button on the left to create a new project file in our user save data. This will allow us to start creating maps for that project.
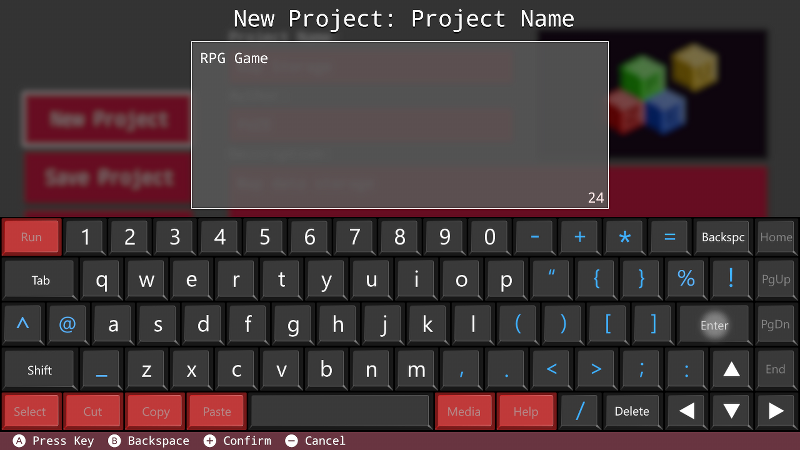
Enter the title, author and description for your first project.
It is a good idea to create a project in which to store all of your map data going forward. This will be a handy way of knowing where all of your maps are for future reference. Why not call it something like 'Map Storage' or 'Atlas'? You can copy any created map from one project to any other when needed.
Once you've created the project you'll be taken to Code Editor. Return to the Main Menu using the minus button on the Joy-Con controller, then click the 'Tools' icon followed by 'Map Editor':
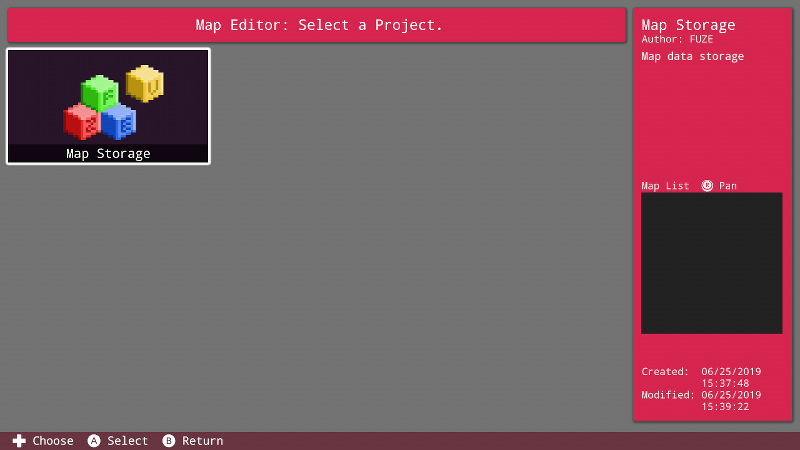
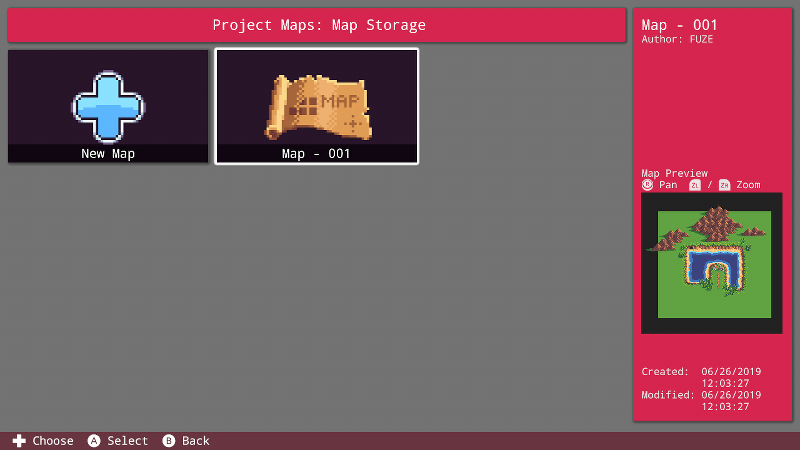
As you can see, we can now see our newly created project. Click the project icon and you'll be taken to the next window:
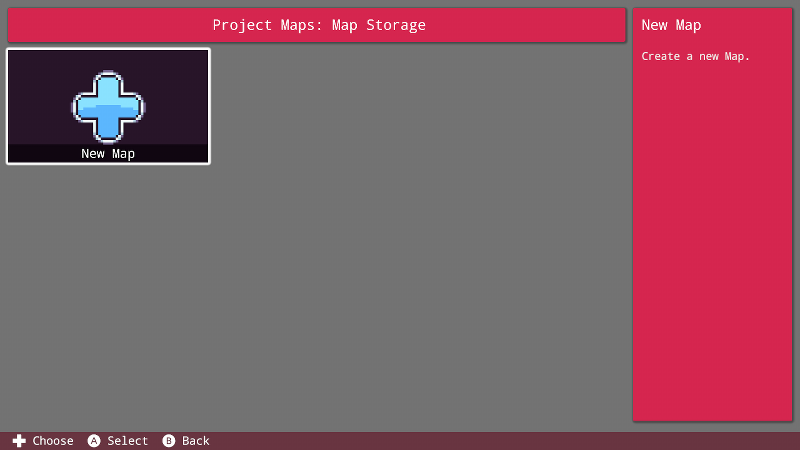
This window is where we can see all the maps stored within this project. Since we don't have any yet, let's click the 'New Map' button to get started!
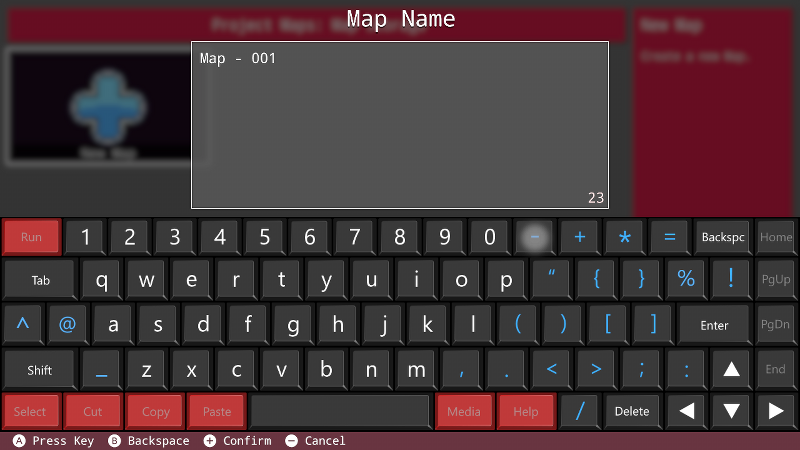
Name your map and press the plus button. You will see a message reading "Choose assets to use in your map!". Pressing "OK" will take you to the FUZE Media Browser to select some assets. For this example, we'll be using some assets by the very talented 'Untied Games'. Select the 'Untied Games' artist icon in the media browser.
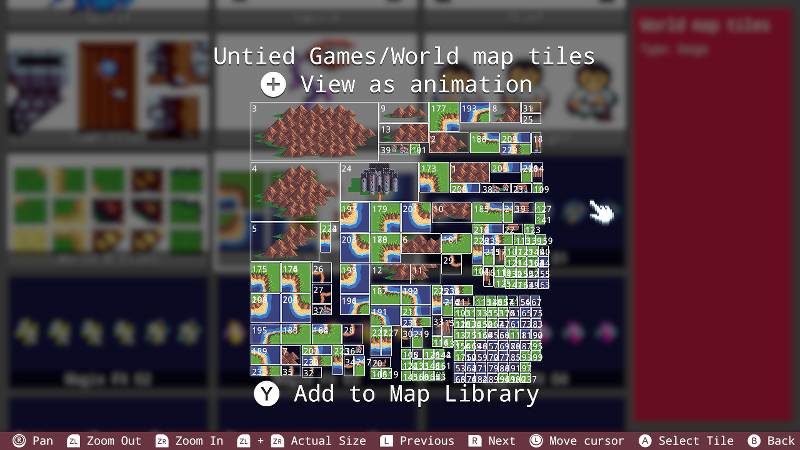
Scroll down and you'll find the tilesheet called "Untied Games/World map tiles". Open this tilesheet by pressing the A button, then press the Y button to add this asset to your map library as shown at the bottom of the screen.
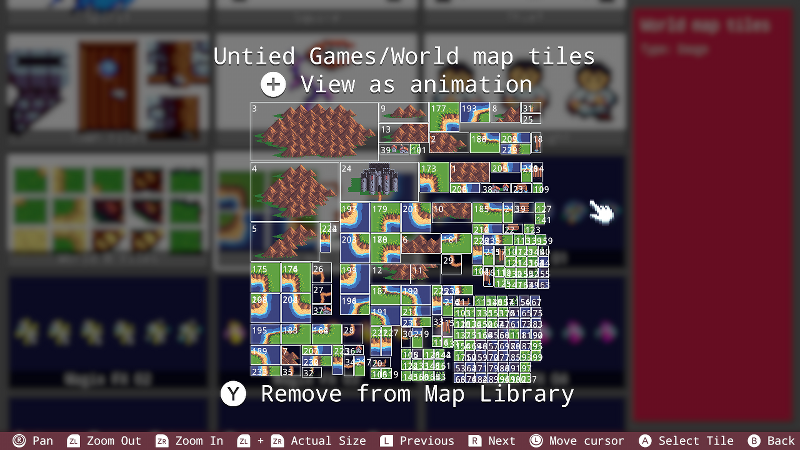
Once the Y button is pressed, notice that the text at the bottom of the screen now reads differently, we can press the Y button once more to remove this asset from our Map Library.
We now have the option to go back into the Media Browser and to keep adding assets to use in our map design. For now, we'll stick with this tilesheet. Press the B button to go back, then press the plus button to enter the map editor:
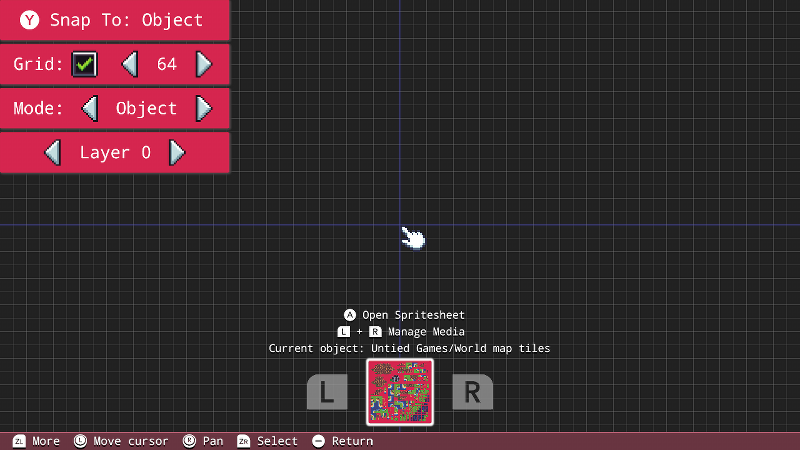
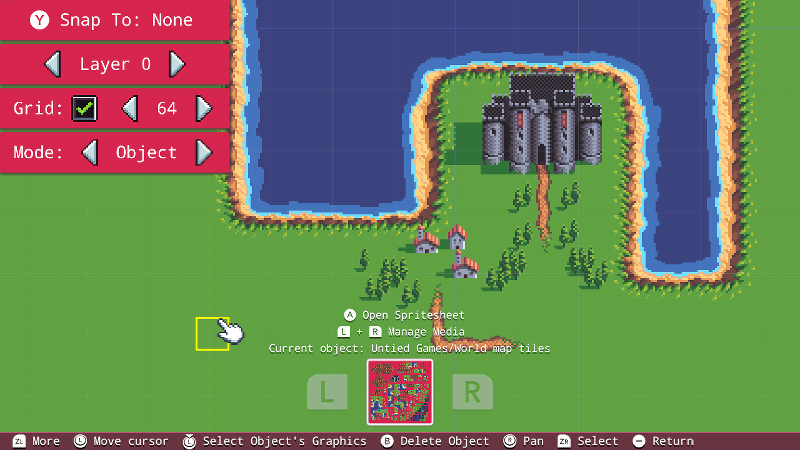
Here we are! Now we're in the Map Editor, take a look at the bottom of our screen. We have two options: We can add more assets to our libray by pressing the L and R buttons at the same time, or we can open the currently selected spritesheet to begin drawing with those assets.
Controls
Since we only have one spritesheet loaded into our library, we can only see one sheet option at the bottom of the screen. If we had more assets loaded into the Map Library, these would appear here. Let's open the tilesheet to begin building. Press the A button to open the sheet:

First, take a look at the control options in the top left corner of the screen. Pressing the Y button will change the way the tiles snap together. Snapping to 'Object' will allow you to place tiles perfectly next to each other. Snapping to 'Grid' will force the tiles into strict grid positions, whilst snapping to 'None' allows for totally free placement.
The 'Grid' option just beneath is the size of your grid squares. A lower number will allow for more precise grid placement. You can also click on the number itself to enter any custom grid size.
The 'Mode' option just beneath that allows you to change the editing mode. By default, we are in Object mode. This means we are simply placing tiles. By pressing the arrows on this box we can change our edit mode to Collision. This will become useful when we actually have a map! So let's make one.
The last option to touch on here is "Layer", located just beneath the Mode selection. By using the left and right arrows, you can change the layer upon which you place tiles. This is great for building complex maps.
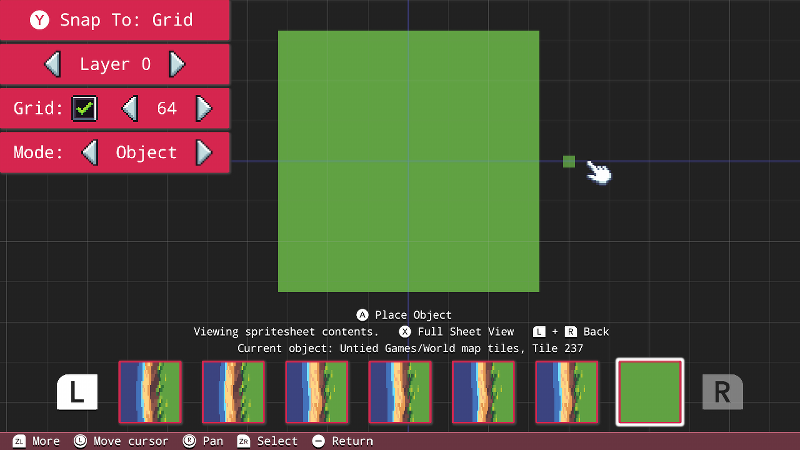
Once the tilesheet is opened we will be able to see all of the individual tiles along the bottom of the screen.
Pressing the X button opens the "Full sheet view" to make selecting tiles easy. Press X and use the cursor to navigate to a tile you want. Press the Y button to select it and close the full sheet view.
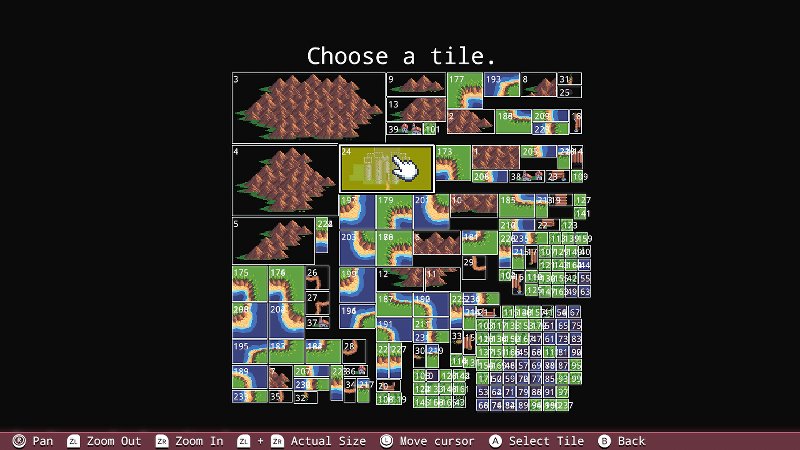
Alternatively, you can use the L and R buttons to navigate to a tile instead. This can be very useful when the desired tile is nearby!
Press the A button to place a tile. If you make a mistake and need to delete a tile, simply move the cursor highlight over the tile and press the B button.
To save your map, simply press the minus button to return to the Main Menu. You'll see the FUZE save icon appear in the top right.
Selection
There are a number of useful features which make building maps much easier! Let's take a look at them.
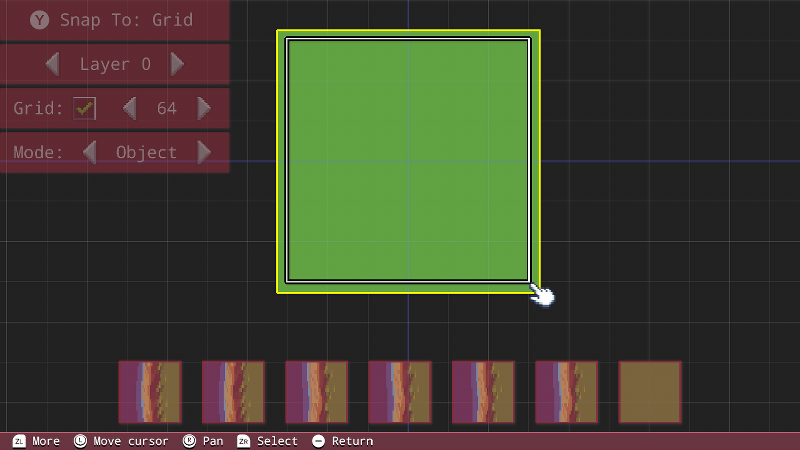
Below we have a simple green square made up of lots of little tiles.
We could save a lot of time by duplicating this square, rather than drawing by one tile at a time. Hold down the ZR button to enter selection mode, then use the left control stick to draw a region.
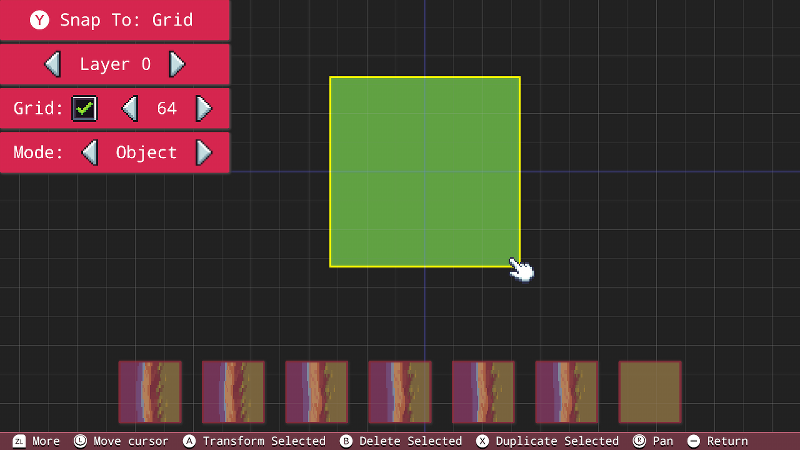
Once you let go of ZR, the region will be selected. While a region is selected, the command bar displays some extra options. Take a look at the command bar at the bottom of the screen.
Transformation
When a region is selected, we have three options, transform, delete and duplicate. Press the A button to enter transformation mode.
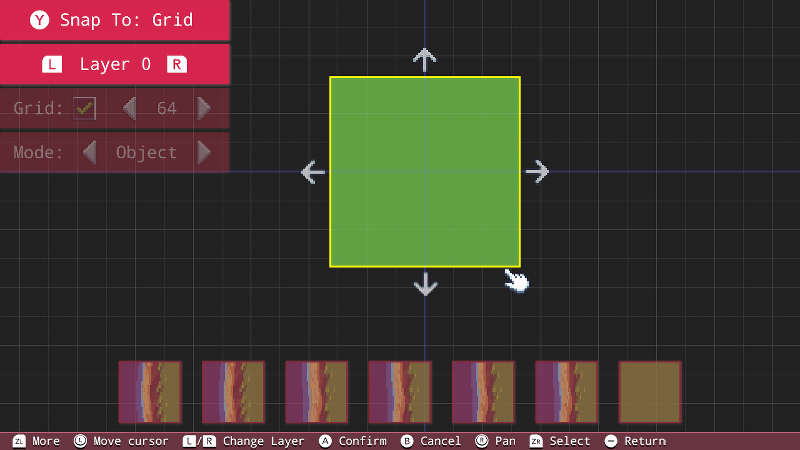
If you don't want to transform, pressing the B button will cancel the transformation.
The four arrows around the selected region are a prompt to tell us we can move the selection in any direction. Try moving the left control stick.
Changing the "Snap To:" mode at this time will affect the way the transformation happens.
You can also use the L and R buttons at this point to change the layer on which to place the selection.
But that's not all! Notice the command bar prompt in the bottom left of the screen? Hold down the ZL button to access more controls.
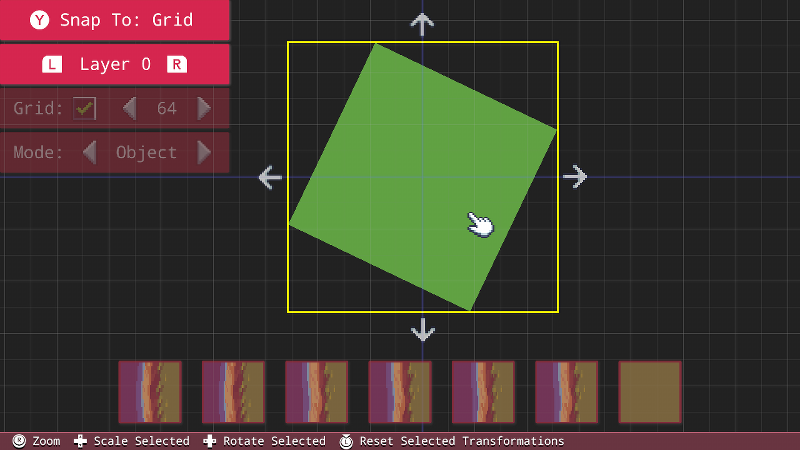
While holding ZL, you can use the left control stick to scale and rotate the selected region. Pushing the stick left or right will rotate, whereas up or down with adjust the scale. To make precise changes, you can use the directional buttons too.
When doing this, you can also click the left stick to reset the transformations.
Duplication
From the selected region, pressing the X button instead will enter duplication mode. This copies the selected region, leaving the original in place and allowing you to move, place and transform a copy.
When duplicating a region, there is another control worth noting. Take a look at the command bar in the image below.
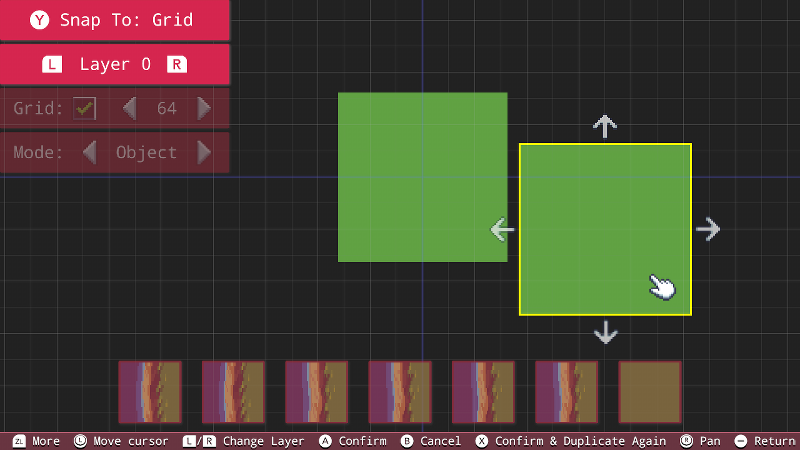
While moving a duplicated region, pressing the X button will confirm the placement and duplicate it again, allowing for another placement very efficiently. Using this technique it becomes very easy to draw huge maps quickly!
Undo & Redo
If you make a mistake while creating a map, no problem! Using the Map Editor's awesome undo history feature allows you to find exactly where you want to return to.
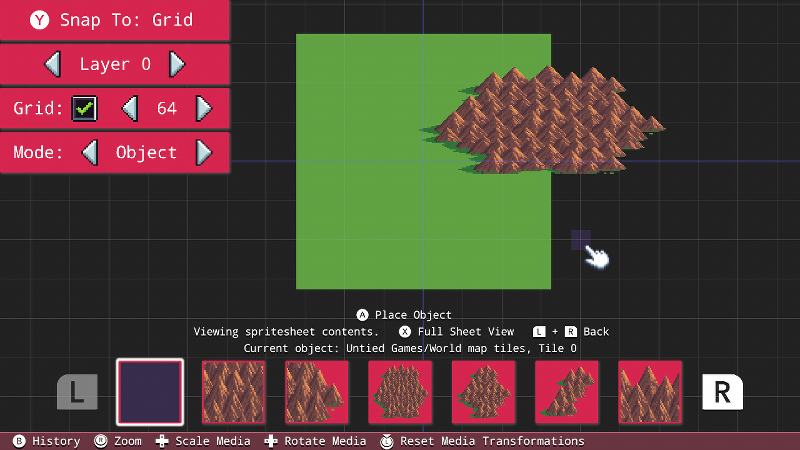
In the situation where we make a mistake, like the badly placed mountains in the example above, make sure you're not in transformation mode, then simply hold down the ZL button and press B to enter the undo history.
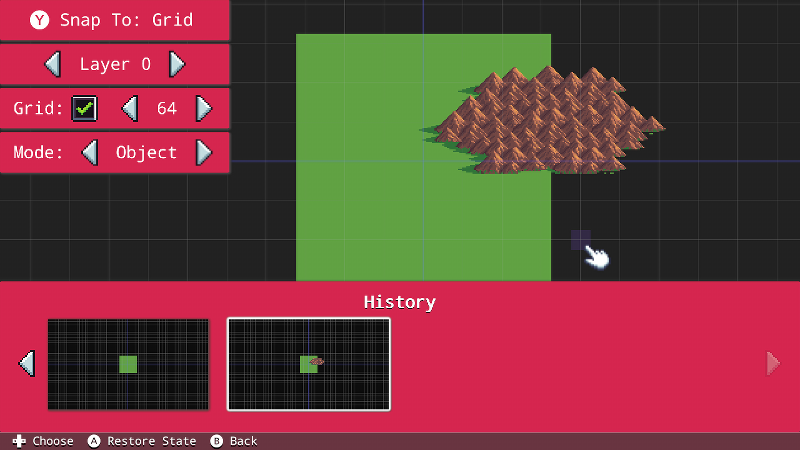
From here, you can select from the recent states of the editor to restore. You can do this both ways, whether you want to go back a step, or regret your decision and want to redo the change.
Collision
Collision data allows your game sprites to interact with a map.
Here we have a small world map section we could potentially use. Let's add some collision data using the Collision edit mode.
Move your cursor to the arrows displayed on the top left boxes and press the A button to change to Coliision mode:
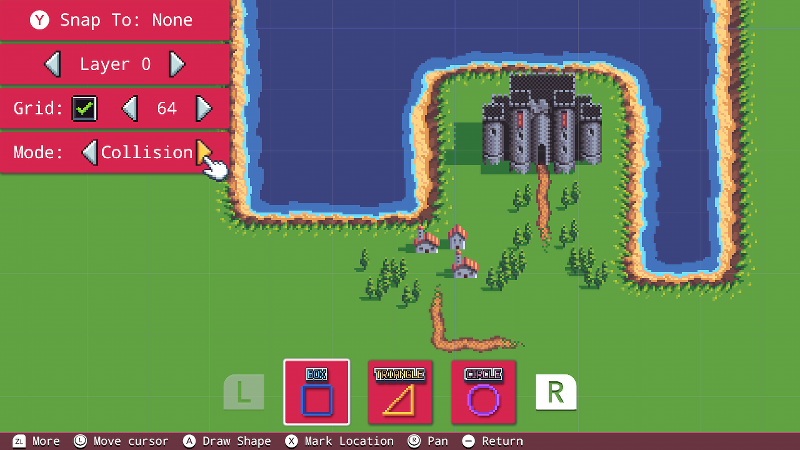
Notice the bottom of the screen has changed now we're in Collision mode. You have three options for collision box shapes - box, triangle and circle. We can now place collision boxes in the areas we want to behave in certain ways. For example, we might make it so that the player cannot enter the water. To achieve this easily, we can simply draw collision boxes around the areas:
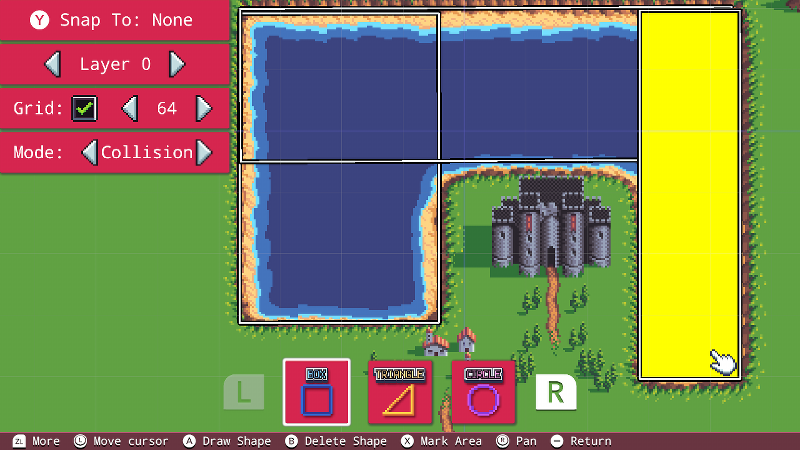
When drawing collision boxes, it can be a good idea to overlap them. This reduces the chance of strange behaviour at the joins!
It's very useful in collision mode to use the 'Object' snapping mode. Move the cursor to the area you want your collision to begin, then press the A button to start placing a box.
Moving the cursor around will adjust the position of your box. Use the direction buttons and the L and R buttons to fine-tune the size of your collision box.
Press the A button again to confirm your shape!
Marked Areas
You can mark collision areas to make it possible for a huge variety of specific behaviours. For example, we might want to mark the areas of water in our map to allow for a special event to take place.
When the cursor is over a placed collision box, press the X button to mark an area with a name. This is also visible on the command bar prompts.
Once selected, you'll be prompted to enter some text with which to mark the area.
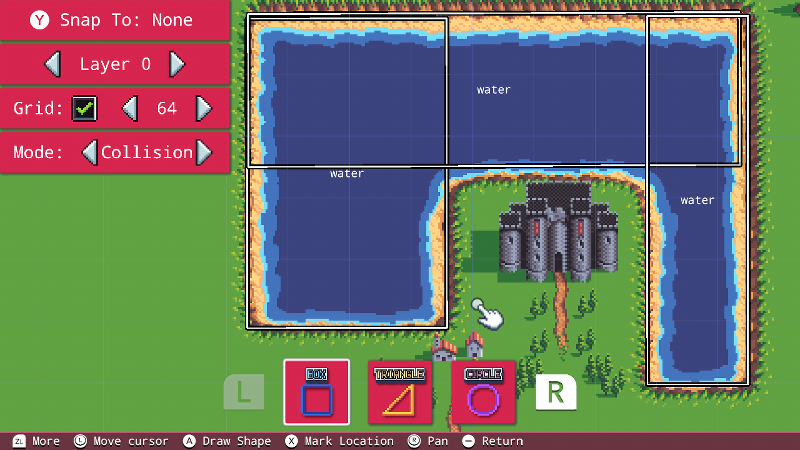
Once complete, the name will appear in the box. Selecting another area to name will automatically bring up the previously entered name, since you might have to mark lots of areas with the same name!
Marked Locations
Similar to named collision areas are marked locations. Rather than a whole area, a marked location is a precise spot on your map. While in collision mode, you can place a location flag by placing the cursor anywhere on your map and pressing the X button. Look for the command bar prompt: "X Mark Location".
Once selected, you will be prompted to name your location in the same manner as the collision areas.
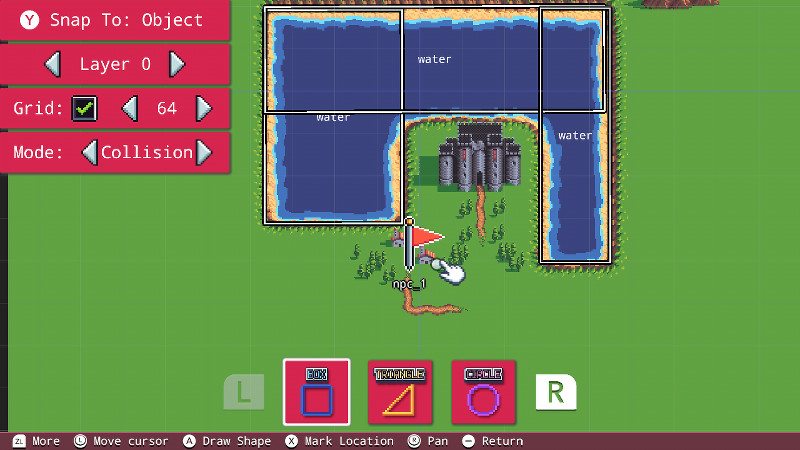
As you can see, in the example above we've named the location as "npc_1", since it looks like quite a nice place for a non-player character!
Named areas and flags are used with the map functions in FUZE. Check out the links at the bottom of this page to see helpful examples of how to use these commands.
Animated Tiles
Placing animated tiles in the Map Editor is very simple. Using this feature you can create an animated coastline, or perhaps include flickering lights in your maps!
We've created a new map to demonstrate this feature. This time we're using a flickering torch from the Ansimuz assets.
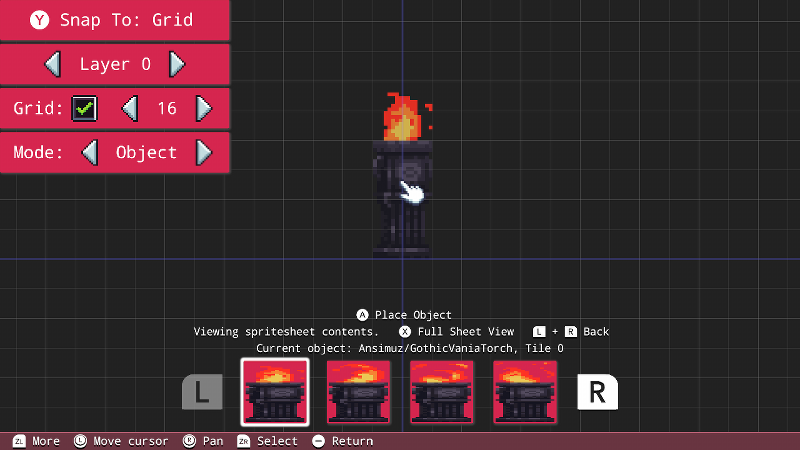
Instead of placing the tile as normal, press the X button to enter full sheet view.
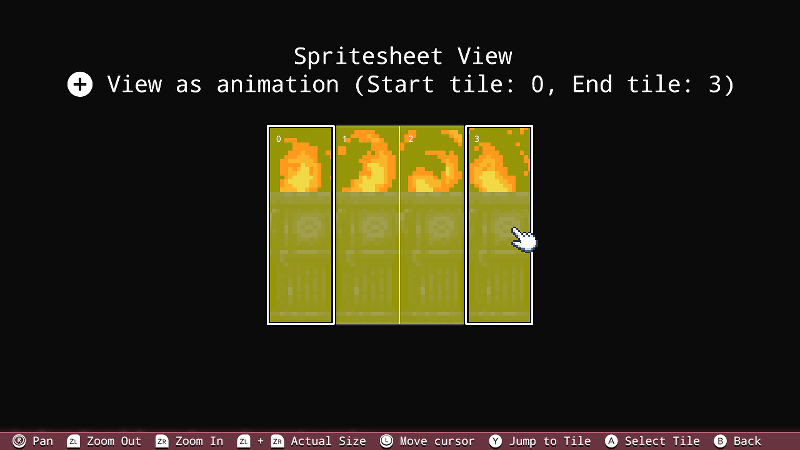
Select a beginning and end tile for the animation. You can preview this by pressing the plus button.
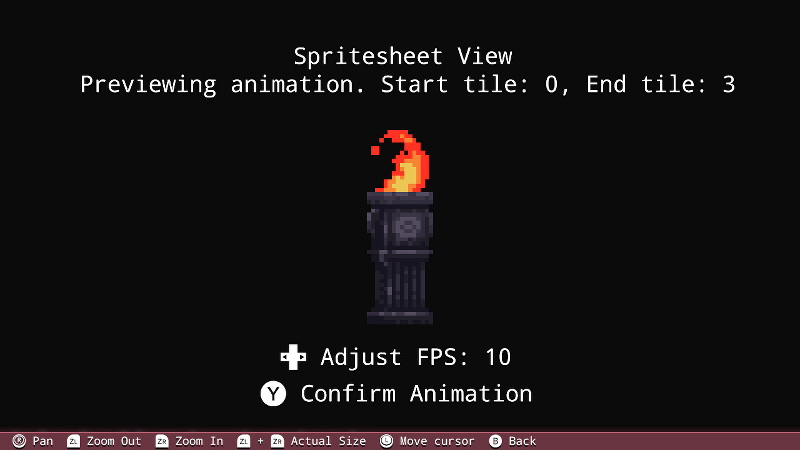
Adjust the FPS (frames per second) until you are happy with your animation. You can always cancel and return by using the B button if you're not happy with the results.
Once you're happy to move forward, press the Y button to confirm the animation. This will return you to the map editor and prompt you to place your animated tile.
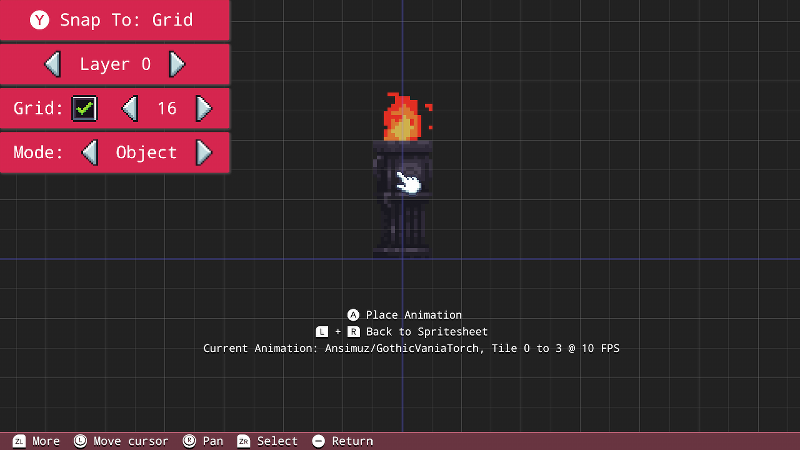
Notice that the details of our animation are visible too. Press the A button to place your animated tile wherever you like! Once you're finished placing the animated tiles, press L and R at the same time to return to the standard placement mode.
You will need to use the updateMap() function in your code to see the tile animations.
Copying a Map to a New Project
Let's get this map loaded into a project. Since we're using the current project file as map storage, we will want to copy this map into a new project. From the Main Menu, select the 'Project' icon and create a new project:
Once our project is created, return to the Main Menu and select the 'Tools' icon and then 'Map Editor'
Select the 'Map Storage' project to see our map:
Press the X button to view the options for our map. You'll see a menu with three options. Select 'Copy Map':

You will see two options. Select 'Copy To Another Project'.
You will now see the list of projects we can copy our map to. We want to copy the map to our newly created project:
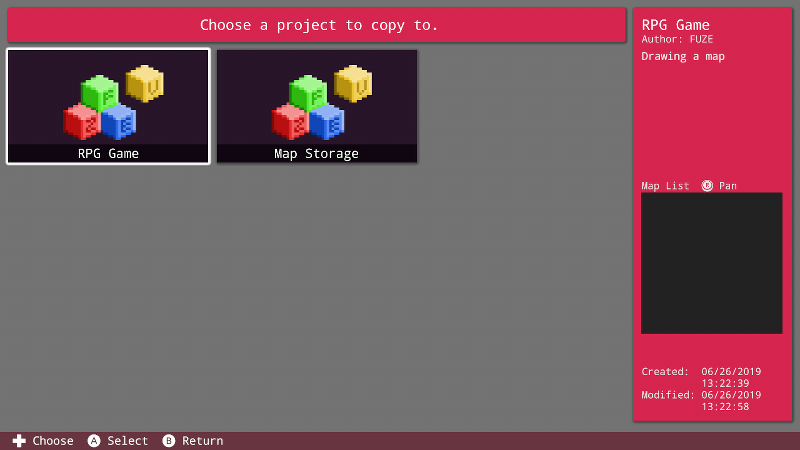
Select the project to copy to, then you'll be prompted to create a new name for the copied map. Once you're finished, return to the Main Menu.
Select the 'Programs' icon and open our new project with the copied map. This will take us to the code editor.
The first order of business is to load the map into memory. We use the loadMap() function to do this:
  1. loadMap( "Map - 001" )
  2.
  3. setSpriteCamera( gWidth() / 2, gHeight() / 2, 2 )
  4.
  5. loop
  6.     clear()
  7.     centreSpriteCamera( 0, 0 )
  8.     drawMap()
  9.     update()
 10. repeat
This program above will simply load our map and draw it at the centre of the screen with a zoom of 2.
Map Commands
collideMap(), detectMapCollision(), drawMap(), drawMapLayer(), loadMap(), unloadMap()